How To Give Yourself A Facial Massage At Home
Feeling handsy? How about a massage? Specifically, an at-home facial massage! Turns out it’s possible to get a full luxury spa experience without ever leaving your couch. Yay! From anti-aging, to blood circulation, depuffing skin, and muscle toning, the benefits of facial massages are endless! Because I’m a skincare enthusiast, not an expert, I spoke with our in-house esthetician, Alex Ov, to get the insider knowledge on how to properly give yourself a facial massage at home.
Skin Care Facial Tools

Using tools are an excellent way of elevating your skincare routine to the next level. Ov advises, “Of course you can use your hands, but tools are also helpful! Especially the Gua Sha tools.” He says that, “The Heart Sculpty Gua Sha is great for contouring the face and opening the eyes with the tail part–it’s like a natural eye lift. The Claw Sculpty Gua Sha is great for using the claw part to work with lymphatic drainage on the neck. The Goldie Roller is great for areas that are prone to wrinkles. The Face Trainer is great, because it works like a microcurrent machine, which is used for anti-aging. And lastly, the Face Sculptor has two heads which helps for contouring, especially around the jawline and cheekbones.”
SHOP NOW: Gua Sha Facial Lifting Tools
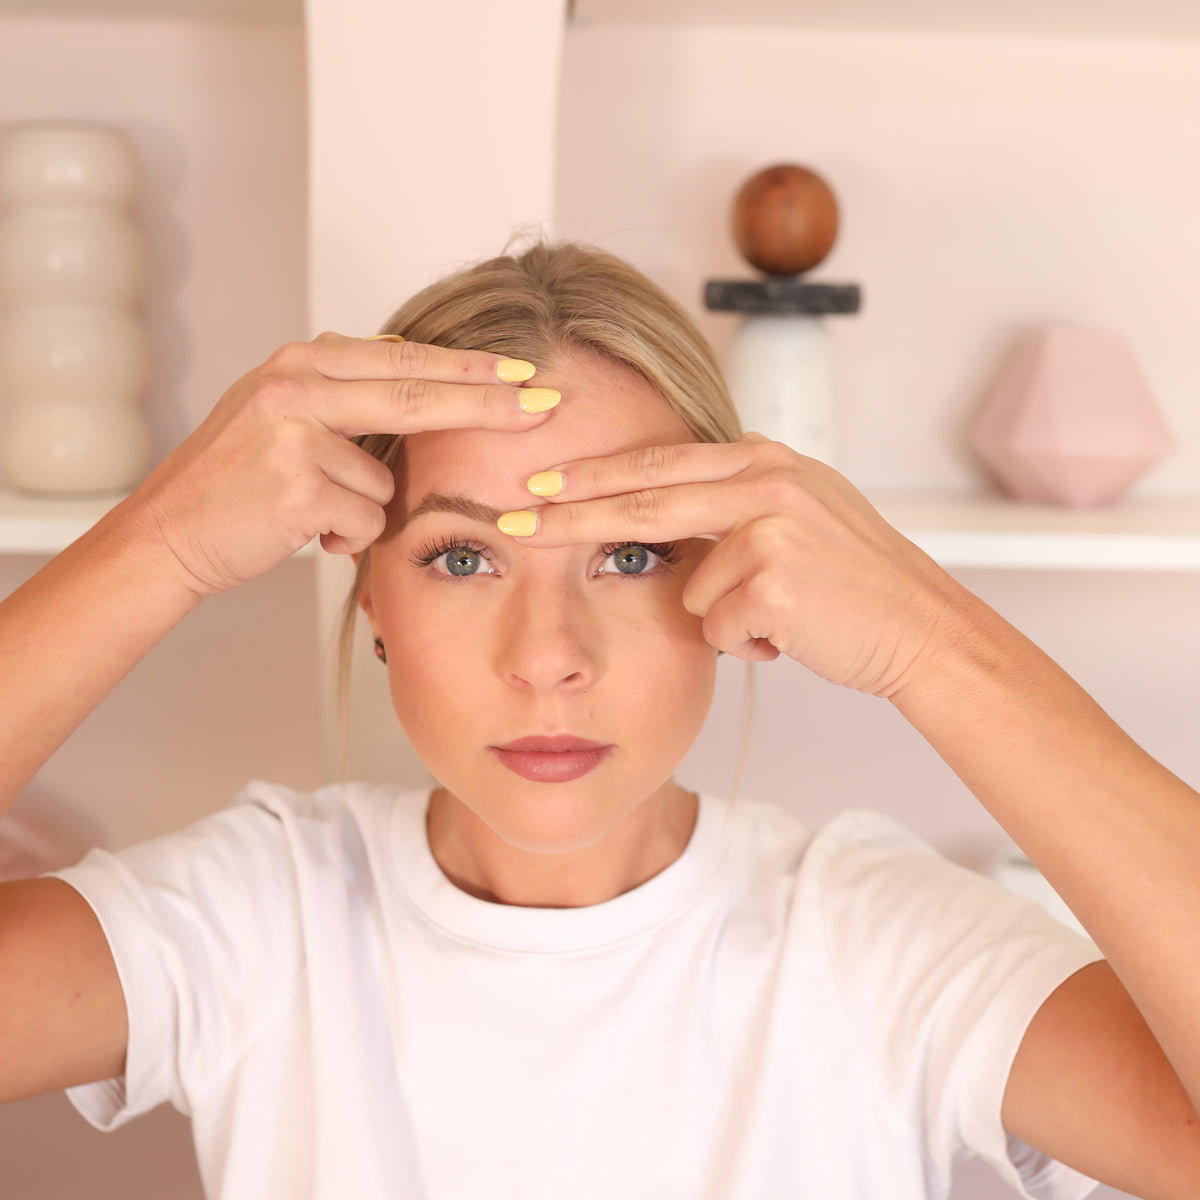
Prep Your Face

Before you begin massaging it is essential to prep your face. Ov says to start with a deep facial cleanse followed by applying your favorite facial oil. He recommends using a grapeseed, avocado, or argan oil. Remember that you can add more facial oil anytime during your massage as needed.
SHOP NOW: Bare Face Cleansers
STEP ONE

Begin by massaging zone one, which refers to the forehead, temple, and eyebrow area. Ov instructs everyone to, “Move your fingertips in an upwards motion–repeating this motion several times. Then glide your fingers outward toward the side of your head, in slow motion, using light pressure.” Ov then says to, “Go from the center of the eyebrows to the temple.” (Hint: everything will always go from the center outward.)

STEP TWO

Time to move on to zone two, which goes from your eyebrows to under the nose. Ov notes that zone two is a crucial section. He says that, “Zone two is extremely important to target, because it’s your business card. For zone two, you want to make sure you move in an upward motion, and always “fix it” (or end) in the temple area.”

In zone two Ov says to, “Move from the center of the eyebrow to the bridge of the nose, and then to under the eye in one big sweeping motion with the fingertips. Continue the same motion, but instead of sweeping under the eyes, sweep under the cheekbones.”
STEP THREE

Moving on to zone three, paying special attention to the lips, chin, and neck area. Ov says, “Start at the lips, sweeping your fingertips upward and outward under the cheekbones, always returning to “fix it” in the temple area.”

STEP FOUR

Welcome to the triangle zone, which is the areas surrounding your nose, mouth, and chin. This is another essential section to focus on, because it’s common to get wrinkles in this area from activities like smiling, talking, and chewing. Ov instructs, “From the center of your triangle zone, sweep up and out, ending in the temple area. Then using your thumbs, start below your chin, and move up your jawline to sculpt and define the jaw.”


STEP FIVE

Ov advises that, “As we age, our chin wants to tilt upward, so we want to move it down to keep a youthful appearance. Using a Gua Sha tool with the longest edge, scrape down the chin, but stop before you reach your neck.” Ov recommends to continue using your Gua Sha to glide up the jawline. Ov says, “This is great for anti-aging, contouring, and defining the jawline. Can also be done with your fingertips by lightly pinching and gliding upward.” Ov continues, “Then using your fingertips, glide down the neck to help with lymphatic drainage and swelling. Next glide your hand or Gua Sha lightly down the neck area. This is great for getting blood circulation to the face and brain.” (Hint: you always want to move your hand upward to your chin to prevent sagging skin on the neck.)

FINISHING TOUCH

You did it! Your facial massage is now complete! All that is left to do is to cleanse your face and apply your standard skincare routine. Ov says, “Clean your face for a second time after the massage to get off any excess facial oil. Apply toner and then follow with a serum and a facial roller to work in the serum. Apply your eye cream, and then follow with a daily moisturizer.” And ta da, you are done! Ov lastly says that, “Everything (technique, products, and tools), step by step is working together to give you great results. You will see results the more you do it!”
SHOP NOW: Facial Rollers